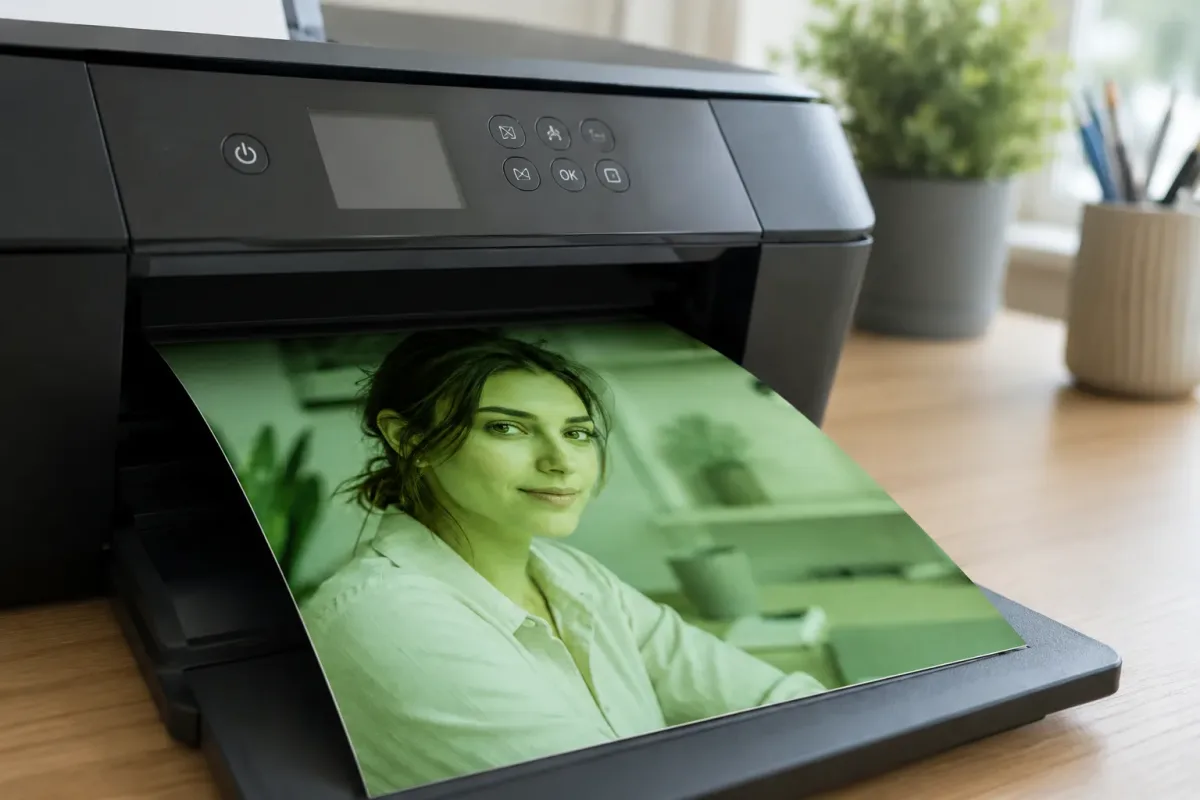
You spend twenty minutes editing a photo until it's perfect. You hit print. You walk over to the tray, pick up the page, and there it is — your subject's face has gone a lovely shade of swamp green.
If you've been there, you know the feeling isn't just annoyance. It's the specific kind of rage that makes you want to throw the whole printer out the window.
Here's the part that stings even more: that frustration is quietly draining your wallet. Industry estimates put the cost of ignored printer calibration issues at up to $300 a year in wasted paper and ink — cartridges tossed in the bin, sometimes entire printers replaced, when the actual fix takes about fifteen minutes.
This guide walks through exactly how to diagnose what's going wrong with your printer color calibration, using the same tools professional print technicians rely on. No guesswork, no new hardware — just a printer test page and a bit of detective work.
The Real Cost of Ignoring Bad Prints
Before we get into the fix, it's worth understanding why this happens so often.
According to Consumer Reports, the average household spends over $100 a year on ink alone — and that's before you factor in reprints caused by color errors. For businesses, the damage scales fast. One small business owner reported losing roughly $60 a month reprinting custom labels because their brand colors kept coming out wrong.
Most people assume the printer itself is broken and either buy new cartridges or replace the whole machine. In reality, the root issue is usually much simpler: your screen and your printer are speaking two completely different languages.
- Your monitor displays color using light — the RGB model (red, green, blue).
- Your printer produces color using physical ink — the CMYK model (cyan, magenta, yellow, black).
When those two systems aren't properly calibrated to agree with each other, you get the disconnect between what you see on screen and what lands on paper. That's the entire problem, and it's fixable.
Step One: Run a Printer Test Page (Your Printer's Check Engine Light)
Before you touch a single setting, run a color test page. This isn't a random pattern designed to waste your ink — it's a genuine diagnostic tool, built to the ISO 24712 standard, that shows you exactly what your printer is capable of right now.
On Windows, it takes under a minute:
- Open Settings
- Go to Bluetooth & devices → find your printer
- Click Printer properties
- Select Print test page
The reason this matters: printing directly from your operating system isolates the problem. If the test page prints cleanly but your actual photos still look off, you've just learned the issue is in your software settings, not your hardware. That alone can save you from an unnecessary cartridge purchase.
If you want a quick, no-install way to run a similar diagnostic check online before committing paper and ink, tools like Printer Print Test let you test your setup first — which is a smart habit if you're printing anything you can't afford to waste (photos, labels, client materials).
Step Two: Decode What the Test Page Is Telling You
Once you've got a printed test page in hand, here's what to actually look at.
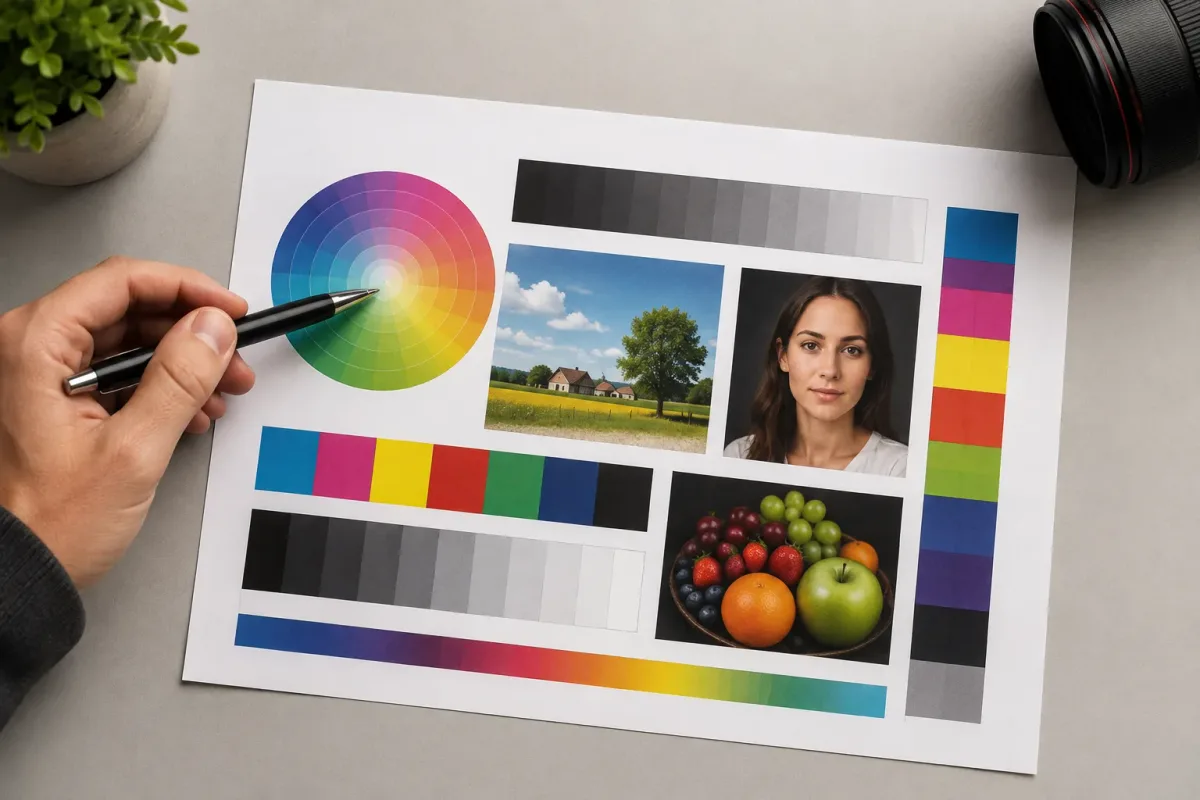
The Color Wheel
This section shows you your printer's true color accuracy and saturation. You want to see:
- Fully saturated, vivid colors
- Smooth transitions between shades
If colors look washed out, entirely missing, or the transitions look harsh and blocky, that's a red flag pointing to a problem with ink delivery.
The Photo Sample (General Appearance)
Most test pages include a busy, detailed image — often a market scene or similar. This tells you how well your printer manages total ink limits and produces rich, deep blacks. If shadow areas look wet, are bleeding together, or have lost all detail, your printer is struggling to control how much ink it's laying down.
The Troubleshooting Matrix
This is the part that actually tells you what's broken, symptom by symptom:
| Symptom | Likely Cause |
|---|---|
| A missing block of color entirely | Empty cartridge or clogged print head (high priority) |
| Thin vertical lines | Clogged nozzles (inkjet) or dirty corona wire (laser) |
| Horizontal bands | Dirty/damaged drum (laser) or clogged nozzles (inkjet) |
| Ghosting / double shadows on text | Fuser or alignment issue (high priority) |
The Pro Move: Check the Gray
Look at the grayscale gradient on your test page. True neutral gray should have zero color tint. If you spot even a hint of pink, blue, or green in what should be plain gray, your entire color balance is off — and that tint is quietly bleeding into every photo you print, even if it's not obvious at first glance.
Step Three: Fix Printhead Alignment (The Mechanical Cure)
Sharp text and accurate color both depend on precise printhead alignment. If your test page revealed issues, here's how to address them — and if you're not sure whether it's alignment or a clog you're dealing with, running a nozzle check first will tell you exactly which one it is.
For HP printers, load high-quality glossy paper, select Printhead Alignment from the printer's control panel, and let it run. One detail most people miss, straight from HP's own documentation: close nearby windows first. Strong ambient light hitting the printer mid-scan can throw off the entire alignment process.
A few more field-tested fixes worth knowing:
- The Epson rule: Never run more than three cleaning cycles back to back. It burns through ink fast and can damage the print head over time.
- Repeating dots every few inches: Usually caused by label adhesive residue on a roller. A little isopropyl alcohol on a cloth clears it up.
- Horizontal banding on a laser printer: Pull the toner cartridge out and gently rock it side to side to redistribute the powder evenly.
Never use transparent or semi-transparent paper for an alignment scan — the scanner physically can't read it, and the alignment will fail.
Step Four: Advanced Color Calibration (For When You Need It Exact)
It's worth being clear on the distinction here: a test page diagnoses hardware problems like clogged nozzles or misalignment. Calibration is a completely different process — it's the software-level fine-tuning that teaches your printer what "true red" or "true skin tone" actually looks like against industry standards.
The professional workflow follows one golden rule: calibrate your monitor before you touch printer settings. If your screen isn't accurate, you'll be chasing a moving target.
Once your monitor is calibrated:
- Print a test page using default settings
- Compare it to your screen under good, neutral lighting
- Manually adjust RGB output levels to correct for any unwanted warmth or coolness
- Aim for roughly a 95% visual match between screen and print
This isn't just theory — one professional photographer spent $500 on premium photo paper trying to brute-force her way past a persistent color mismatch. After running this exact calibration process, she got a perfect match on cheap, standard paper instead. That $500 stayed in her pocket.
For anyone who needs lab-grade precision — print shops, professional photographers, brand-sensitive businesses — tools like the Gernot Hoffmann test pages go a step further. They use ITA color targets with precise CIELAB values, test up to a 300% total ink limit to check for paper oversaturation, and closely compare rich black (a mix of cyan, magenta, and yellow) against pure K-only black. If a printer passes a Gernot Hoffmann test cleanly, it's about as well-tuned as a printer can get.
The Takeaway
Bad prints aren't usually a broken printer — they're an unread signal. The financial damage is real, the diagnostic clues are hiding in plain sight on a test page, and most fixes take minutes, not dollars.
Before you buy another cartridge or write off your printer as dead, run a test page and actually read what it's telling you. If you want a fast way to check your print quality before committing good paper and ink to the job, test your setup here first.
Your printer isn't lying to you — it's just been trying to tell you something, and nobody's been listening.
Frequently Asked Questions
Why does my printer print the wrong colors?
Usually because your screen (RGB) and printer (CMYK) aren't calibrated to agree with each other, or because of a hardware issue like a clogged nozzle, low cartridge, or dirty printhead. Running a printer test page tells you which one you're dealing with.
How do I fix printer color problems without buying new ink?
Start with a free printer test page to see whether the issue is hardware (streaks, missing colors, banding) or software (colors look fine on the test page but wrong in your actual documents). Most color problems are fixed with a cleaning cycle, printhead alignment, or a color calibration pass — not a new cartridge.
What is printhead alignment and why does it matter?
Printhead alignment is a calibration routine that makes sure your printer's ink nozzles fire in precise sync. Misalignment causes blurry text, ghosting, and color that looks slightly "off" even when every cartridge is full.